LET THIS BE OUR FIRST STEP
To know the basics of sewing clothes we must learn from the basics itself.
cloth needed = half meter(approximated)

Learn to stitch a panties for your kid.. imagine your kid wearing a panties stitched by u. it is very easy if u follow the correct steps
cloth needed = half meter(approximated)
Learn to stitch a panties for your kid.. imagine your kid wearing a panties stitched by u. it is very easy if u follow the correct steps
- 1 MEASURING
- 2 CALCULATING
- 3 FOLDING
- 4 DRAFTING
- 5 CUTTING
- 6 STITCHING
1. measure the hip,seat and crotch
or find crotch =length=seat/3
or find crotch =length=seat/3
HIP=BREADTH=HIP/4+2
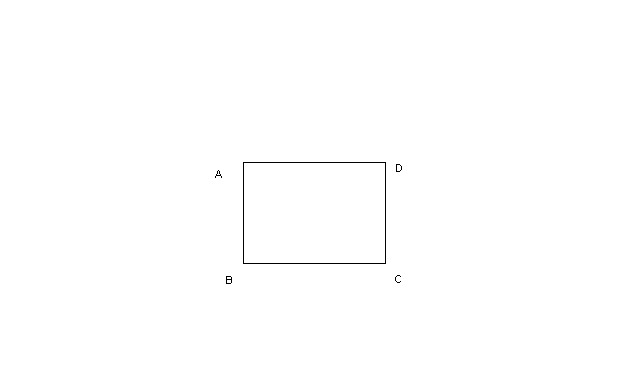
AB = LENGTH(CROTCH)BC =BREADTH
2 CALCULATING
EG: IF 20 IS HIP AND 24 IS SEAT THEN
LENGTH = 24/3 =8
AND BREADTH = 20/4+2 =7
one of the important thing that a beginner must know is about the folding of the cloth.if the folding goes wrong u may spoil the whole cloth.so first of all it is good to try the cutting on a paper. take only a small piece of paper which fits in ur palm,and try cutting. cut the paper in the correct folding and in the wrong folding too. this will make u understand more about folding
3 FOLDING


CAPITAL A B C D IS THE OPEN FABRIC
small a b c d is the folded fabric
small a b c d is the folded fabric
FIG 1 is ur cloth
FIG 2. fold it according the arrow ,and u will get the result as fig 2 (B)
FIG 3. fold it according to the arrow,and folding completed on fig 3 (B)
- follow the images to fold ur cloth.see the image 4 the blue lines will have the open part of the folded cloth and the rose line have the closed part
now u got 4 layers of fabrics , remember(hip /4) hip was divided by 4 is because ur fabric is folded as four layers think about this as this helps u in many dress folding
DRAFTING
LENGTH =8
BREADTH =7 draw a square of 8 inch length and 7 inch breadth

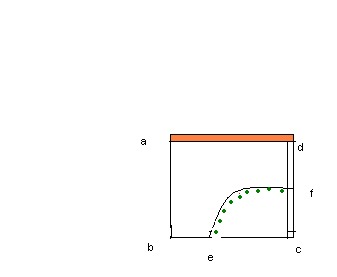
mark 1 inch from 'a' to insert elastic (orange shaded)
b to e = 1 and a half for children and 2 for adults
f = half of the length
join e and f .
CUTTING
cut along the dots

and open the fabric u will get the fabric as shown in the second figure ABCD.
STITCHING
- 1, Roll and stitch the sides marked blue 2, u can add frills on the curved part marked green


fig 2
3,join the sides ,leaving the orange line =one inch
join both sides(A TO B AND B TO C)
fig 3
 4,then fold that one inch(orange shaded ) and stitch around. leave a small gap in the end to insert elastic
 length of the elastic=half of the hip sizeAFTER INSERTING ELASTIC STITCH THAT SMALL GAP ALSO ...... .TRY IT

No comments:
Post a Comment